The following is a primer on an earlier method of installing roof insulation. The manufacturer now recommends installing the metal roof first, then applying closed cell spray foam to the underside of the metal roofing. Some clients may still prefer to use blown in or batt insulation, in which case this will be a useful primer.
Insulating the roof of a Smiling Woods Yurt can be one of the trickier aspects of completing your project. The main reason for this is the reverse method of assembling the roof itself–starting from the inside and working your way upwards and outwards.
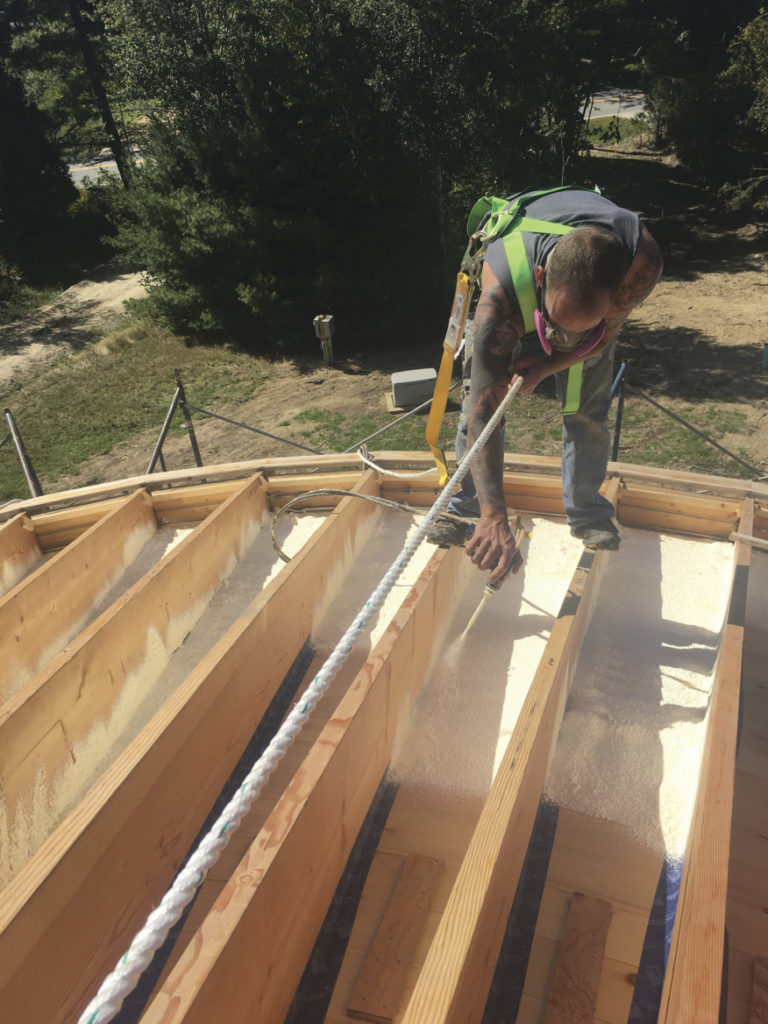
Then, with a clear weather forecast, seal off the joints between the ceiling panels and rafters with foam caulk or air-sealing tape, as in this project in Bluehills, Maine.
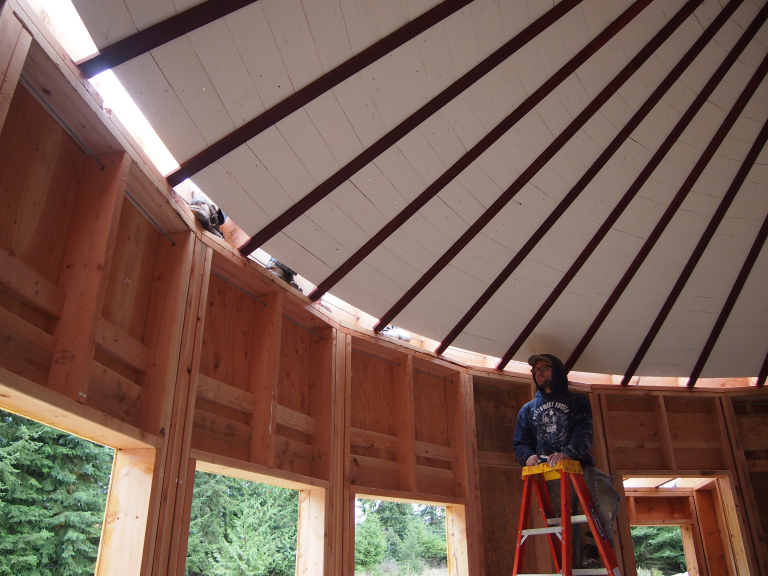
We begin with installing ceiling panels–whether prefinished plywood panels or, as in the case of our Vashon Island house, 1×6 shiplap siding boards re-sawn from demolished warehouse lumber. This task can be accomplished from inside the structure with the roof tarped off to protect against the elements.


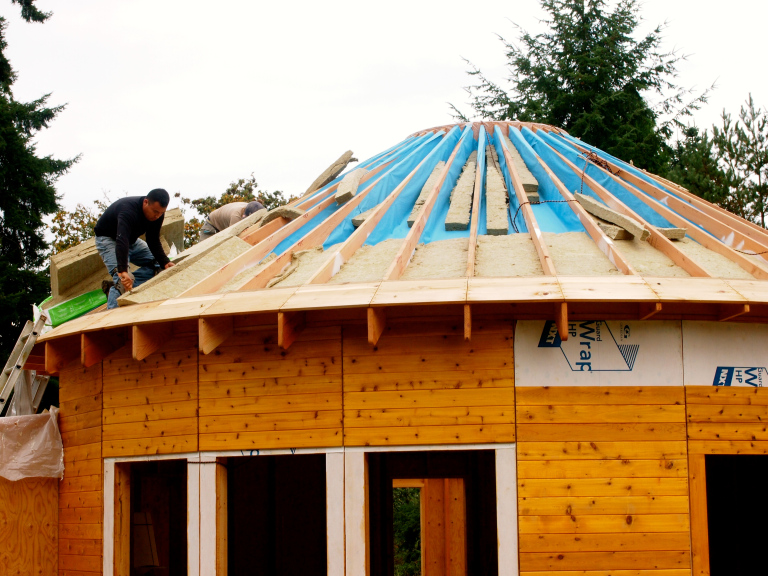
In the above example, a vapor barrier was established by spraying a layer closed-cellular foam. In the Vashon Island project, the top of the ceiling panels were primed, then lined with the breathable vapor barrier DB+. Insulation types vary, but these two sample project provide excellent alternatives. On Vashon we used Roxul mineral wool, which comes in batts and is naturally resistant to fire and rodents. Another option is blown-in-cellulose, but it is critical to maintain the air gap for proper ventilation as explained in the Bluehills project blog.
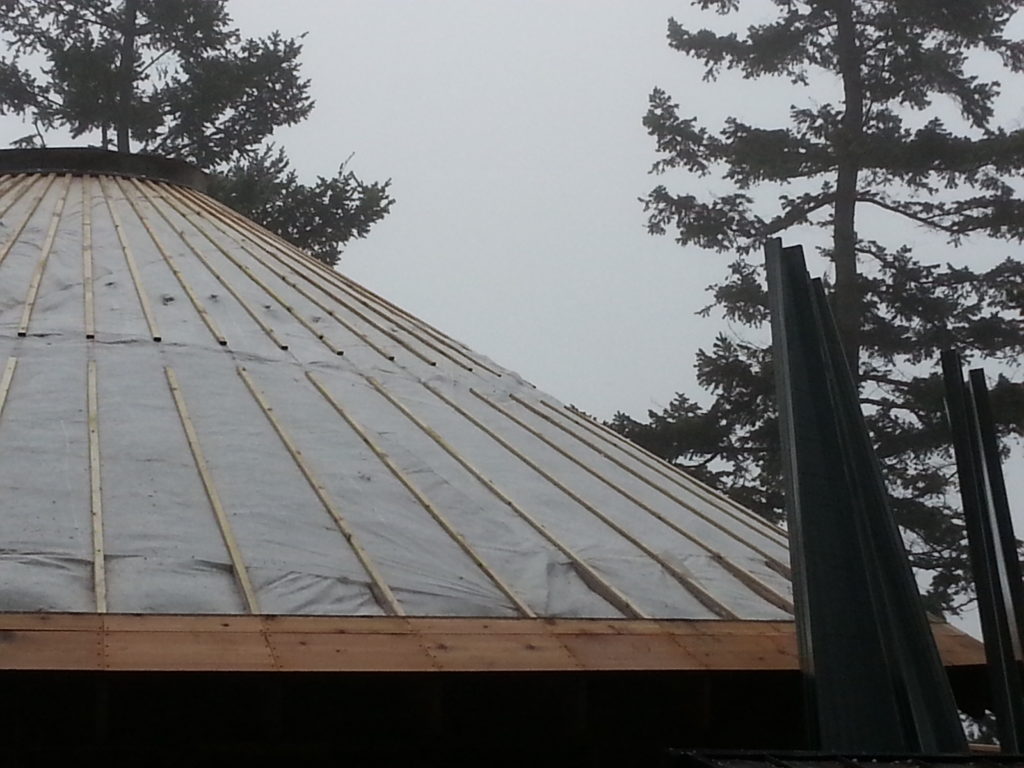
The next step is to fasten 1×2 furring strips above each rafter, upon which the metal roofing panels will be set. This furring strip performs the critical job of maintaining a gap which allows air to flow from the vent screen at the underside of the eves, to the top flashing at the skylight.


Now the roof is ready for the metal roofing panels….be safe, but hurry before the clouds roll back in!